

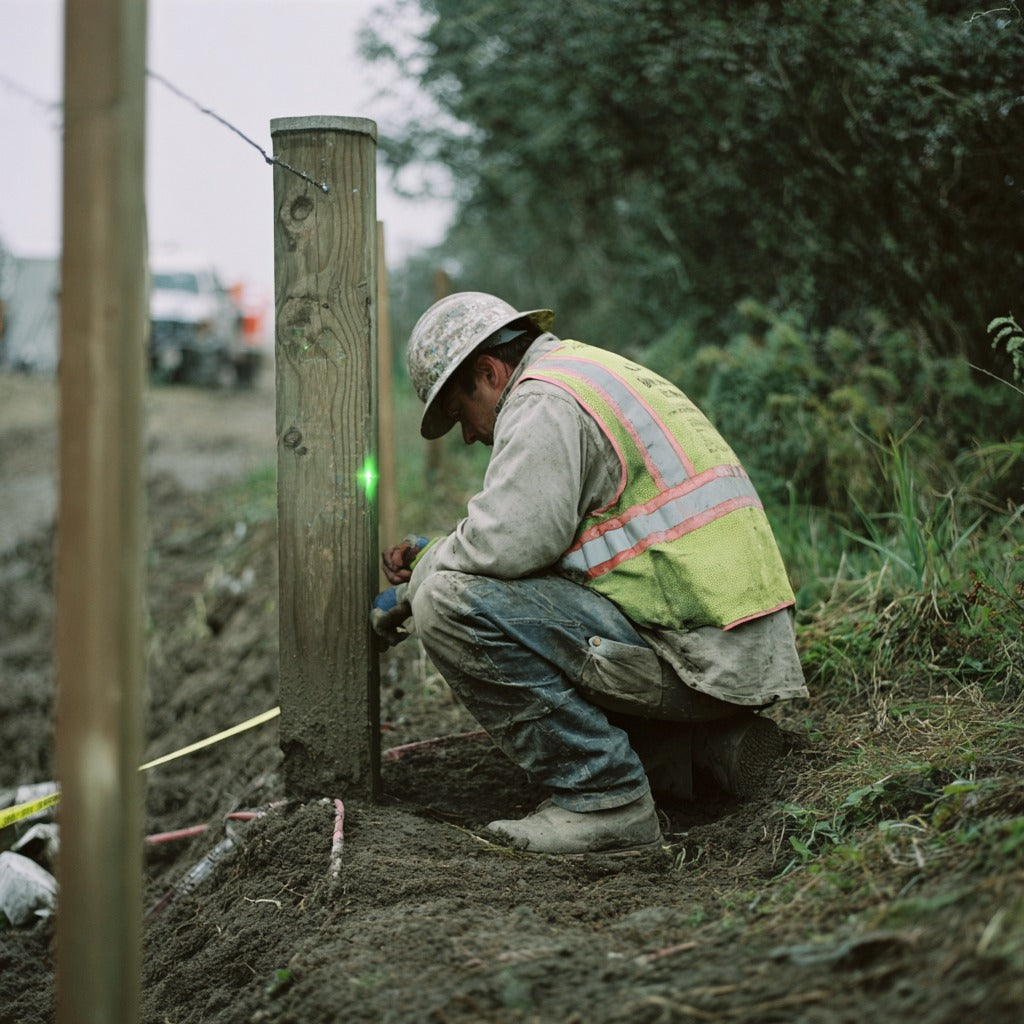
How to use a laser level outdoors depends on the job and what you need to see. For a short layout in shade, use the visible line and a stable support. When sunlight hides the line, use a receiver only after you confirm that the exact laser and receiver are compatible and that pulse mode is enabled. For a long grade or elevation run, a rotary laser system may be a better fit than a cross-line laser.
Use the beam as a reference, not as a guess. If you cannot see the line clearly, switch to a verified receiver setup or change the target conditions. Do not mark a point from an estimated beam position.
Choose the Right Outdoor Method
Outdoor work has two separate problems. Sunlight can hide a line that is visible indoors, and an unstable stand can move the reference without being obvious. Choose the measurement method before you set the first mark.
| Method | Use it when | What to check |
|---|---|---|
| Visible line | You can see the line on the target and only need a nearby layout reference. | Shade, contrast, a matte target, and a firm support. |
| Line laser plus receiver | The beam is hidden by daylight or the target is outside your visual working area. | Exact model pairing, beam color, pulse mode, and the receiver's stated range. |
| Rotary laser plus receiver | You need a broad outdoor elevation or grade reference across a larger site. | That the rotary system and receiver are designed to work together. |
A receiver does not make every laser level an outdoor receiver system. the receiver documentation says to select a receiver by laser type, beam color, and required working range. Its model pages also name the laser tools each receiver supports, so compatibility is a model-level check rather than a universal accessory rule.
Use our laser level buying guide if you are still choosing the tool. If beam color is the only question, see the red versus green laser level comparison; this page focuses on the outdoor measurement method.
Make the Laser Visible in Daylight
Daylight does not stop the laser from projecting a line. It reduces the contrast between the line and the target, so your eye may lose the line even though the tool is operating normally. Laser receivers are designed to detect a line or rotary beam that may not be easy to see with the naked eye.
For a close visual mark, put the target in shade when the project allows it. A neutral, matte target gives the line more contrast than a shiny or patterned surface. Move the target rather than the laser when possible, because moving the laser changes the reference that you are trying to preserve.
Green light can be easier to distinguish for some users, but color alone is not a distance guarantee. In direct sun, treat a disappearing line as a visibility limit and choose a compatible receiver or a different measurement setup instead of extending the line by eye.
Do not use a phone camera, tinted glasses, or a reflected beam as a substitute for a receiver. Those approaches can change what you see without giving you a defined detection point. The mark is ready only when the line or receiver signal is stable at the exact point you are measuring.
Set Up a Stable Outdoor Reference
1. Choose firm support. Put the tripod feet on ground that will not shift when you walk past it. A tripod is useful because it provides stable, adjustable support for a laser level, but it still needs a solid footing. Avoid loose fill, a rocking board, or a surface that can settle during the layout.
2. Mount the laser and release the pendulum. Tighten the mount, release the self-leveling mechanism if your model has a transport lock, and power on. The CIGMAN CM-701 page states a self-leveling and compensation range of 4 degrees +/-1 degree. If the indicator keeps flashing, bring the support closer to level and check the lock before trusting a line.
3. Select one reference plane. Use the horizontal plane for an elevation or rail reference, or a vertical plane for alignment. Pick a control mark that will remain visible, such as a stake, wall mark, or benchmark. Record which plane you used so a later check does not accidentally use a different line.
4. Establish the starting mark. Aim at the first target and mark the center of the line, not its edge. If a receiver is used, center its signal at the target height before marking. Keep the rod or target vertical while you transfer the mark.
5. Recheck after movement. A bumped tripod, a moved target, or a changed line selection can invalidate every later mark. Return to the control mark before continuing. If the line no longer agrees, reset the reference and repeat the transfer rather than averaging two different setups.
Use the Reference for Fences, Grades, and Patios
Align Fence Posts and Rails
For a fence, decide whether you are controlling the top of the posts, the rail height, or the relationship to the ground. A horizontal laser plane can transfer one elevation from a known post to the others. It cannot decide whether a sloped site should have a level rail or a rail that follows the site grade.
Set the first post as the control point, place the target or receiver on the next post, and mark the same reference height. Check the mark from both sides of the post before cutting or fastening. Our fence-post alignment guide covers the post-by-post layout details.
Check Ground Elevation and Grade
A line laser and a receiver can compare relative elevations at separate points when the receiver pairing is supported. Keep the laser fixed, place the receiver on a rod at each point, and record whether the rod must move up or down to return to the same plane. This gives you a set of relative readings; it does not by itself define a drainage requirement or a site code.
Separate three questions before you mark stakes: elevation asks which point is higher, slope asks how that height changes over a run, and flatness asks whether a local surface has humps or dips. A laser reference answers the first two only when your setup and calculation are defined. Use a straightedge or the surface specification for local flatness.
Rotary laser systems are commonly positioned for outdoor grading, foundations, and fence installation. If the job needs one plane across a broad site or repeated elevation checks, compare a rotary system with a line laser before starting. Do not infer a rotary laser's range or accuracy from a cross-line model.
For a more detailed relative-height workflow, see how to use a laser level to level ground.
Prepare a Patio Base
Use the laser to identify high and low points in the prepared base. Mark the readings on stakes or a rod, then adjust the material and check the same points again. A single laser line is a reference plane; it is not a substitute for checking the surface between points.
After the elevation checks, use the straightedge, screed, or installation specification that applies to the patio material to check local flatness. This separation prevents a base from appearing correct at the laser points while still rocking between them.
Check the Reading Before You Mark
Use this short fault check when the outdoor reading does not make sense.
- The laser keeps flashing. Confirm that the transport lock is released and that the support is inside the model's self-leveling range. A flashing indicator is a stop signal until the manual explains the specific mode.
- The receiver is silent. Confirm the exact laser model, beam color, receiver mode, and pulse setting. The CLD-100 product page says it is for line lasers with Pulse Mode and not for rotary lasers. It also lists the compatible CIGMAN models, including CM-701.
- The line disappears. Decide whether the target is simply washed out. Move into shade for a visual mark or use the verified receiver path. Do not increase confidence just because the laser housing is still powered.
- Marks disagree after a break. Return to the control mark and repeat the transfer. A new tripod position is a new reference until it has been checked against the original control.

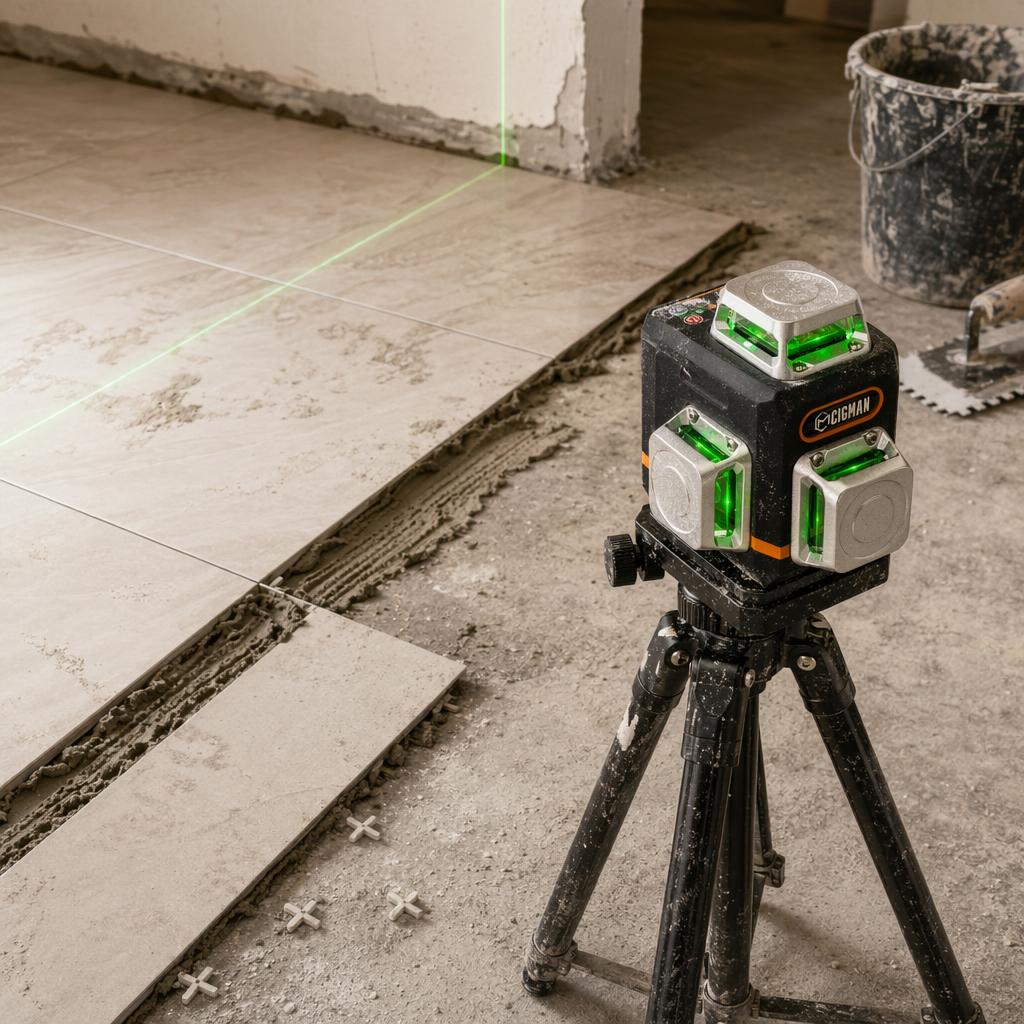
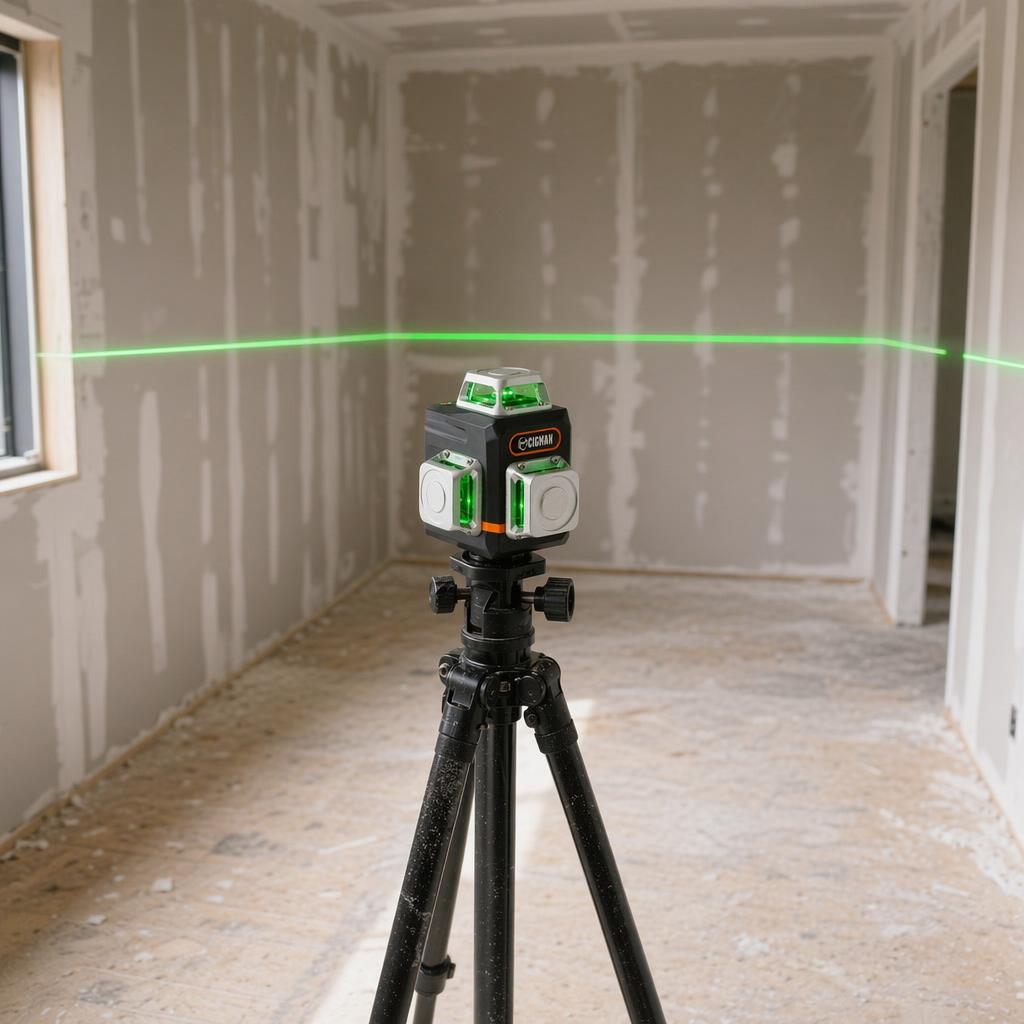
CIGMAN CM-701 3 x 360-degree Laser Level
The current CM-701 page lists 3 x 360-degree green lines, a 30 m line working distance, +/-1.5 mm per 5 m leveling accuracy, Class II, IP54, a 4000 mAh battery, and Pulse Mode for use with a laser receiver. The receiver is not included.
The CLD-100 page lists CM-701 as a recommended pairing. It requires Pulse Mode, detects red or green pulsed lines in poor lighting up to 165 ft (50 m), and is not a rotary-laser receiver. Check the current product pages and your exact model before ordering.
Outdoor Laser Level FAQ
Can you use a laser level outside?
Yes. Use the visible line for a nearby target when contrast is good, a compatible receiver when daylight hides the line, or a rotary system when the job needs a broad grade reference. Keep the support fixed and verify the control mark before you transfer measurements.
Do you always need a receiver outdoors?
No. A receiver is a tool-selection decision, not an automatic outdoor requirement. If you cannot see the line at the target, stop estimating and confirm a receiver pairing, pulse mode, beam color, and stated range before using electronic detection.
How far can the CM-701 and CLD-100 work outdoors?
The CM-701 product page lists a 30 m line working distance. The CLD-100 page lists detection up to 165 ft (50 m) for red or green pulsed beams in poor lighting. These are separate product specifications, not a promise that every outdoor scene will reach either distance. Sunlight, target conditions, setup, and compatibility still control the reading.
Can the CLD-100 receiver work with a rotary laser?
No. The current CLD-100 page says it is for line lasers with Pulse Mode and cannot be used with a rotary laser. Confirm the receiver list for the exact model before you buy or set up.
Is a green laser enough for direct sunlight?
Not always. A green line may be easier to distinguish on some targets, but direct sunlight can still hide it. Use shade for a short visual mark or a compatible receiver when the line is not visible.
Can I use the laser in wet weather?
Read the exact product label and manual before working in wet conditions. An IP rating describes a tested protection category, not permission to ignore the manufacturer's operating limits. Keep the optical window clean and stop if visibility or footing becomes unsafe.
Laser safety. Follow the warning label and manual, and never aim a beam at a person, vehicle, or aircraft. The FDA explains that higher laser classes carry greater potential for serious injury when used improperly. The CM-701 page identifies its product as Class II, but the label on the unit in your hands is the controlling reference.
References
- [1] Bosch, "Laser Receivers," Bosch Tools. Open the receiver guide. Verified August 31, 2026.
- [2] Bosch, "LR8 Laser Receiver," Bosch Tools. Open the LR8 product page. Verified August 31, 2026.
- [3] Bosch, "Tripods," Bosch Tools. Open the tripod guide. Verified August 31, 2026.
- [4] Bosch, "Rotary Lasers," Bosch Tools. Open the rotary-laser guide. Verified August 31, 2026.
- [5] U.S. Food and Drug Administration, "Laser Products and Instruments," U.S. Food and Drug Administration. Open the laser-products guidance. Verified August 31, 2026.
- [6] CIGMAN, "CM-701 3x360-degree Self-Leveling Green Laser Level," CIGMAN. Open the current product page. Verified August 31, 2026.
- [7] CIGMAN, "CLD-100 Laser Receiver," CIGMAN. Open the current product page. Verified August 31, 2026.
Get Professional Accuracy on Every Project
The CIGMAN CM-701 3x360° Laser Level for $149.99 offers 3x360° green beam (1h + 2v), 100ft range.
Shop CM701 for $149.99 →



Laisser un commentaire
Ce site est protégé par hCaptcha, et la Politique de confidentialité et les Conditions de service de hCaptcha s’appliquent.