

Laser Level Not Level How to Fix It
Used a level, triple-checked my spacing, and it still looked crooked once it went up. The laser was not broken. The ceiling was off. Once you understand what a self-leveling laser actually does and what it does not do, most "not level" problems are either fixable in 30 seconds or not the tool's fault at all.
What self-leveling means
A self-leveling laser keeps its beam horizontal relative to gravity, not relative to your walls, ceiling, or floor. The pendulum or electronic compensator inside the unit finds true horizontal. If your floor slopes, the beam is still level. The floor just looks wrong next to it.
This is the source of most "my laser is not level" complaints. The laser is doing exactly what it should. The room is what is off.
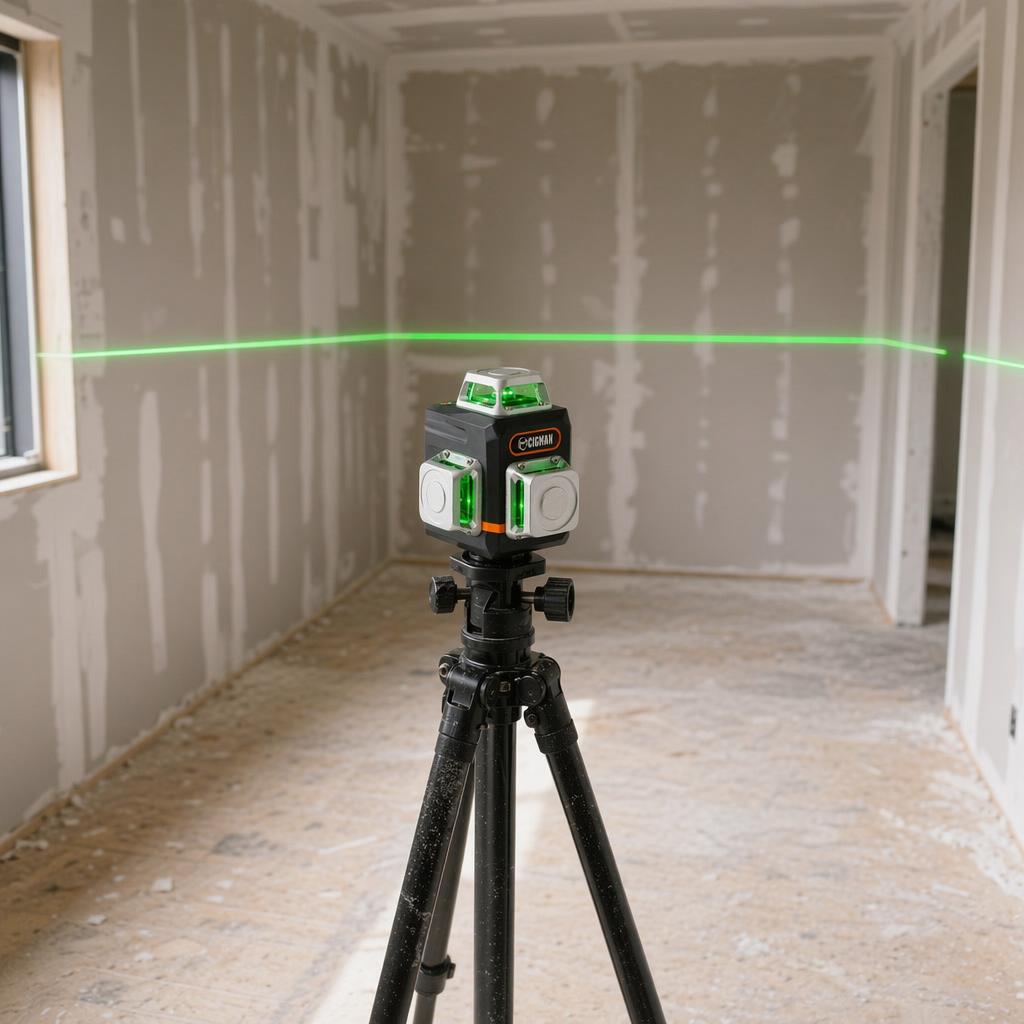
Self-leveling range on most cross-line lasers: ±3 to ±4 degrees from horizontal. Outside this range the unit locks the beam and blinks or beeps to warn you.
What is actually wrong
The transport lock switch is still engaged
Before adjusting your tripod or assuming the surface is too tilted, check the transport lock switch. The CM-701 has a lock that pins the internal pendulum during shipping so it does not swing and damage the unit. When the lock is engaged, the beam blinks continuously regardless of surface level. The signal looks identical to an out-of-range blink.
Real users have spent up to two hours troubleshooting a constantly blinking beam before finding this switch. It is the most commonly missed first step. Flip the lock switch to the unlocked position and the beam will stabilize within seconds on any flat surface.
The unit is outside its self-leveling range

If the laser is blinking or beeping instead of projecting a steady line, the surface it is sitting on is tilted beyond the auto-level limit, typically ±3 to ±4 degrees. The compensator hits its mechanical stop and locks.
Set it on a flatter surface or adjust the tripod legs until the line steadies. The unit is not broken.
At 30 feet, a 4-degree tilt means the "level" line is about 2 feet off true horizontal. If the unit is blinking and you ignore it, every mark you make is wrong.
Fix: Level the tripod head first, then let the unit self-level. Never tilt the laser body to move the beam up or down. Use the tripod crank instead.
The unit was dropped or bumped
Impact shifts the pendulum mount or the internal prism. The unit will self-level to the wrong reference. It will look steady and the beam will be solid, but every mark will be consistently off.
This is the failure mode that catches people out. No blinking. No warning. Just a line that is reliably wrong.
Drop it once and check it before using it on a job. A laser that is off by 3/8 inch at 100 feet means your reference marks are wrong by that amount at the far end. For tile or flooring that is enough to throw off the entire layout.
Fix: Run the 180-degree rotation test (see below). If it fails, send the unit in for calibration. You cannot fix a shifted pendulum mount with a screwdriver.
It warmed up less than two minutes ago
Laser optics shift slightly as they heat from a cold start. The first 60 to 90 seconds of readings can drift from the stabilized position. Power on, do your setup, then wait before marking.
Fix: Power on first. Do your tripod setup and height adjustment during the warm-up. Mark reference points only after the beam has been steady for at least two minutes.
How to check whether the unit is out of calibration
This test takes about five minutes and tells you whether the beam is level to within a usable margin. It does not recalibrate anything. It tells you whether to trust your laser or send it in.
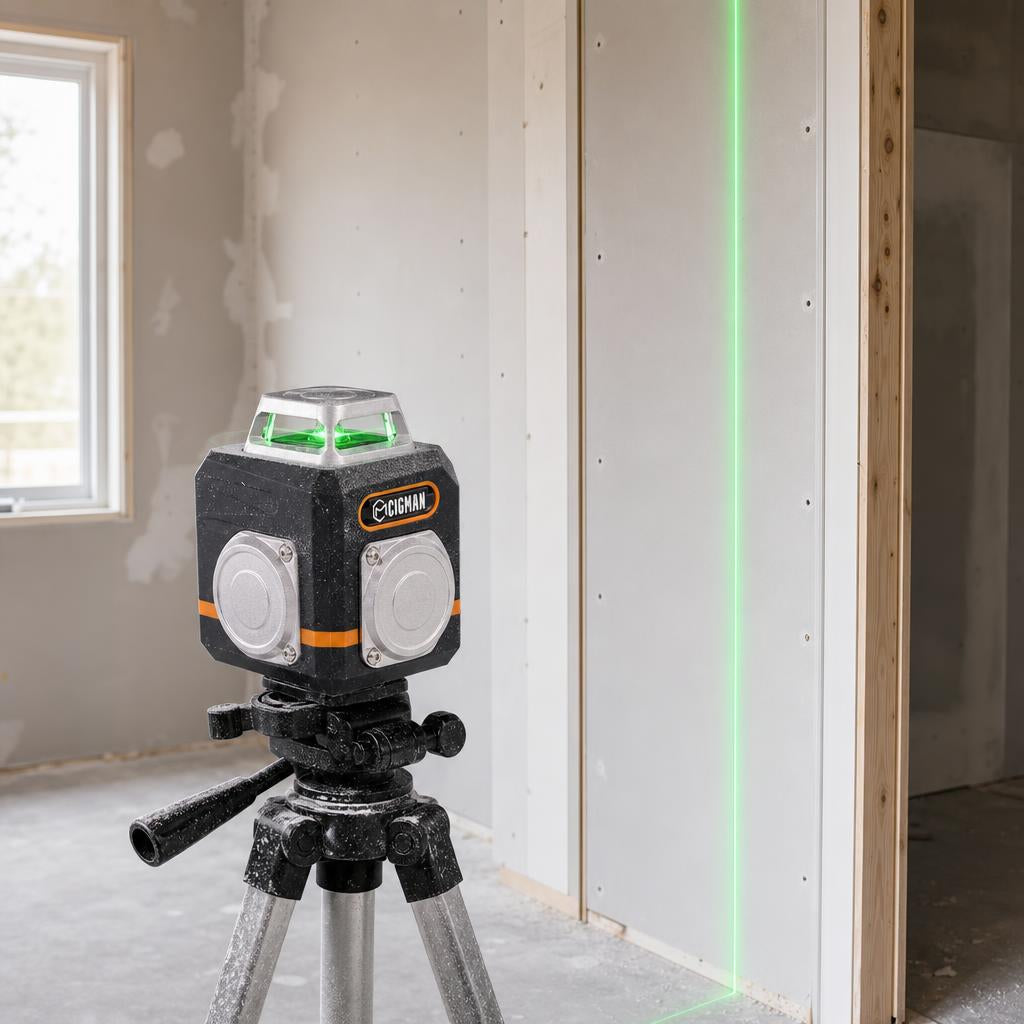
- Set the laser on a tripod about 15 feet from a wall. Let it self-level and mark the wall where the horizontal beam lands. Call this Point A.
- Without moving the tripod, rotate the laser body 180 degrees so it faces the opposite direction and let it re-level.
- Turn the unit around and project the beam back at the original wall. Mark where it hits. Call this Point B.
- Measure the gap between A and B. If it is less than 1/8 inch, the beam is within usable tolerance for most DIY work. If it is more than 1/4 inch, the calibration is off and the unit needs service.
This is how to CHECK calibration, not how to calibrate. If the test fails, do not attempt to adjust the internal screws unless the manufacturer specifically provides this procedure in the manual.
When the problem is the room, not the laser

A perfectly calibrated laser will still look "off" if the wall, floor, or ceiling it is projected onto is not parallel to true horizontal. This is common in older construction and in basements where concrete has settled unevenly.
The beam is right. The room is wrong. Deciding which one to follow depends on what you are building. For tile and flooring, follow the laser. You want the surface flat even if the room is not perfectly square. For running trim or crown molding, you sometimes follow the ceiling line to avoid visible gaps, even if that means your trim is technically off level.
Our laser level buying guide covers which models include a manual tilt mode, which is useful for matching a reference line to a sloped surface without losing the self-leveling reference.
Frequently asked questions
Why does my laser level line look crooked on the wall?
The wall itself is probably not plumb. Project the beam onto a plumb wall or the floor and compare. If the beam is level there, the original wall is the problem, not the laser.
What does it mean when my laser level blinks?
First check the transport lock switch. If it is engaged, the beam blinks on any surface — flip it to unlock. If the lock is already off, the unit is outside its self-leveling range (usually ±3 to ±4 degrees). Set it on a flatter surface or adjust the tripod until the beam steadies.
Can I recalibrate a laser level myself?
The 180-degree rotation test tells you whether calibration is off. Actual adjustment requires the manufacturer's specific procedure and tools. Most units are not user-serviceable. If the test fails, contact the manufacturer's service center.
How often should I check calibration?
After any drop or impact, at the start of any job where accuracy matters, and any time something looks wrong. A schedule does not make sense. Specific events do.
My laser level looks level but my tile row is off. What happened?
Check whether your starting line was on a flat surface or one that slopes slightly. Also check whether the laser drifted during warm-up. Set a new reference line from scratch on a known flat surface and compare.
Which CIGMAN laser level is right for your work?

The CM-701 locks the beam and lights an indicator when it is out of range, so you know before you start marking, not after. Its magnetic bracket attaches to any steel surface, handy when you need a stable position on framing or a metal door frame while running the rotation test.
If your work involves sloped surfaces where a locked tilt beam is useful, the CM-S01 adds Bluetooth app control so you can adjust the beam angle without going back to the unit.
References
- [1] International Organization for Standardization, ISO 17123-6:2022, Optics and optical instruments — Field procedures for testing geodetic and surveying instruments — Part 6: Rotating lasers. Geneva: ISO, 2022. [Online]. Available: https://www.iso.org/standard/78133.html. Verified: June 2026.
- [2] International Organization for Standardization, ISO 17123-1:2014, Optics and optical instruments — Field procedures for testing geodetic and surveying instruments — Part 1: Theory. Geneva: ISO, 2014. [Online]. Available: https://www.iso.org/standard/64156.html. Verified: June 2026.
- [3] Robert Bosch Power Tools GmbH, GLL 3 X Professional: Original Instructions, "Checking the levelling accuracy" and "Self-levelling range." Leinfelden-Echterdingen, Germany: Bosch, 2020. [Online]. Available: https://www.manualslib.com/manual/1861715/Bosch-Professional-Gll-3-X.html. Verified: June 2026.


Laisser un commentaire
Ce site est protégé par hCaptcha, et la Politique de confidentialité et les Conditions de service de hCaptcha s’appliquent.